T-molding that is. We got the T-molding on PETES and then started working on the side art and CP. Applying t-molding is fairly straight forward. We had a few places where we had to finesse it, but we are happy with the final product.
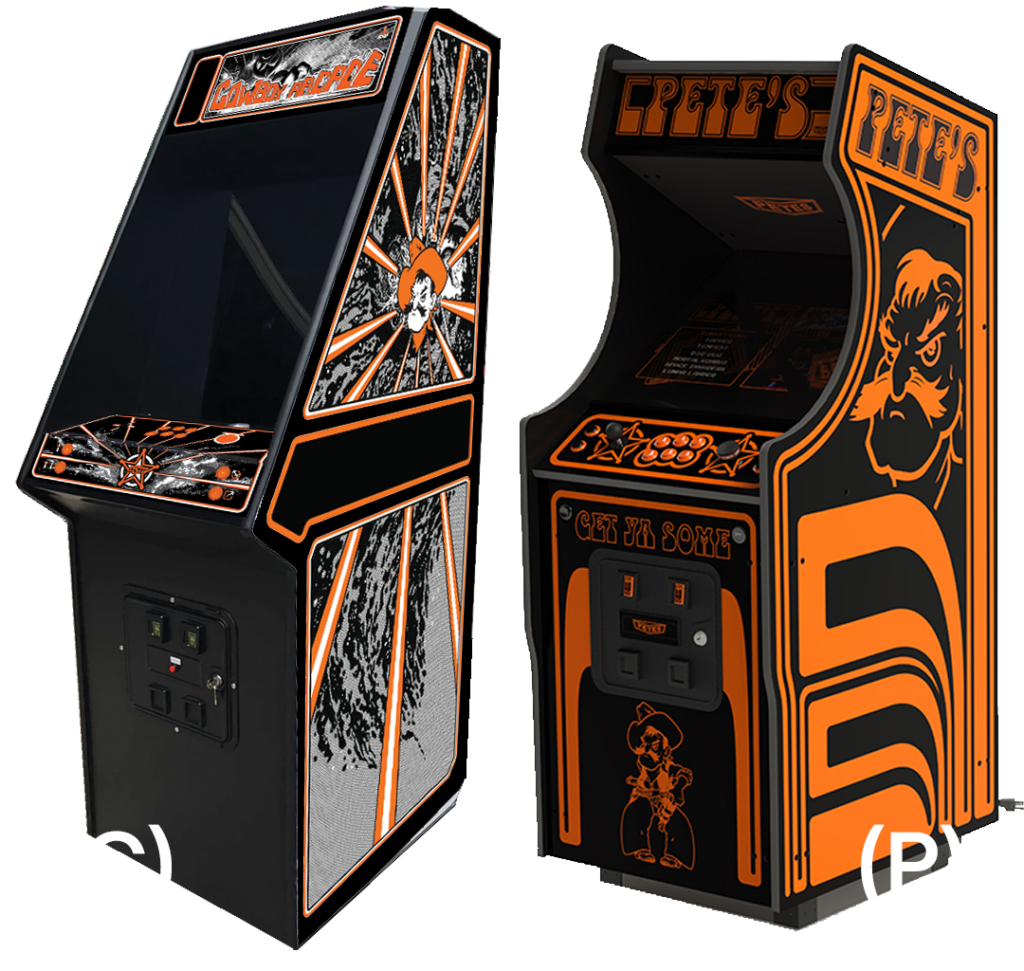
Adhesive backed vinyl side art and CP overlay came from Game On Grafix and are stunning. Early in the design phase we ordered a test print to verify that we would like the orange (orange can be difficult to print). Once we knew what orange to order we uploaded the Adobe Illustrator files (another reason we love Game On) and our lovely vinyl art showed up.
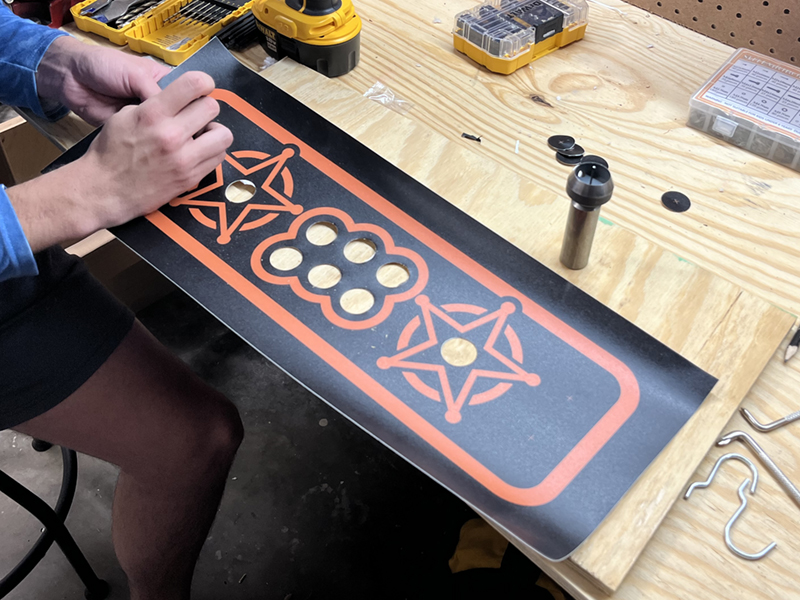
The CP is covered with an additional layer of laminate (also used for bullet proof glass!) which offers a very tough, scratch resistant and textured surfaces. This will last a long time and take a lot of abuse. We punched the holes out, using a special hole punch we designed for this, and then using buttons to orient the piece, stuck it down.
The sides are a little more complex to line up. We knew from the drawing (since we created it) what the distance was from the graphic to the edge so we carefully measure and then stuck a razor blade along this line in the front and botttom. Then we carefully slipped the tip of the razor blade into the crack between the cabinet and the t-molding, effectively anchoring the side art in place. We then peeled away some backing and began applying the vinyl.
Did I say we had to remove the bolts holding the cabinet together? I didn’t mention that? Well, we did. We needed the vinyl to be under the bolt heads, so with the cabinet on it’s side, we took out the bolts at the bottom, applied the vinyl there, put the bolts back in, took more bolts out farther up, applied the vinyl, put those bolts back it, and so forth till the whole thing was done. Whew!
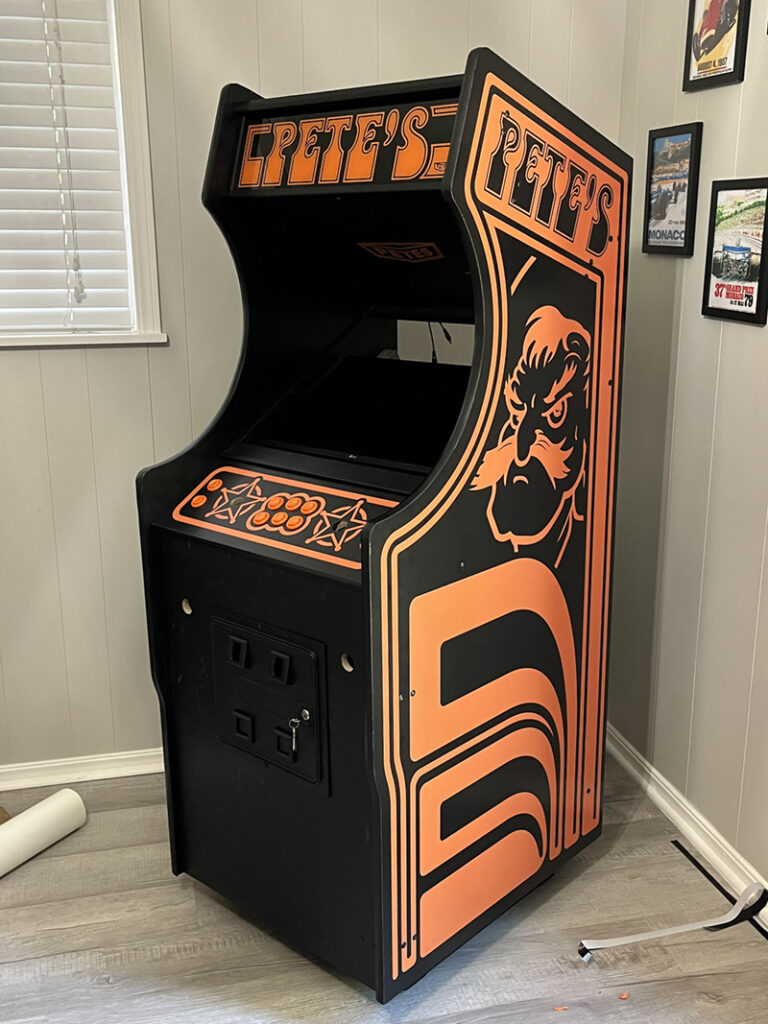
Then we ran a razor blade around edge in the slit between the side and the t-molding to trim off the excess. The result is pretty fantastic:
Leave a Reply
You must be logged in to post a comment.