Sean, the guy I told you about, sent me a pic of the test casting of my new Atari ‘volcano’ button lenses.
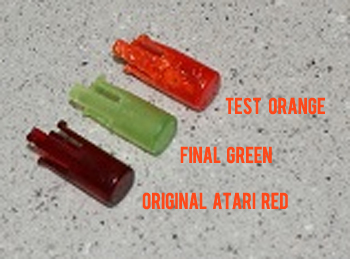
The bottom button is an original Atari red lens. The middle one is a finished lens in green that he had already made, and the top one is a test cast in orange. The final cast will be done in his pressure chamber to remove the bubbles so it looks like the green one (only orange)!
Thought it might be a good idea to test the switches I have, so I had Ky, one of our electrical engineers, put them on a meter and verify that the contacts work (I’m a mechanical engineer and electricity scares me…). Then Ky hooked up 5VDC to test the LEDs and surprise, surprise, surprise…they are RED.
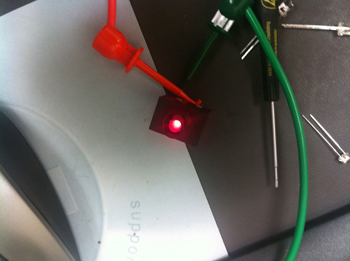
I don’t know why I didn’t think about that. Red lenses means they could have used white LEDs, however, Ky reminded me that white LEDs were not available in the late 1970’s. So, a red LED is going to make my orange lens look red. No good.
So, Ky swapped out the LEDs for new ORANGE ones! Not an easy task as the switch is held together with brads and we didn’t want to try to take it apart. Ky ended up chopping up the old LED from the top until he could clip out the remaining leads. Then it was fairly simple (for him!) to solder in new orange LED goodness.
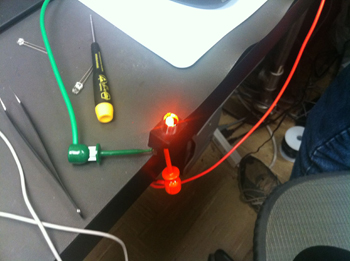
They are brighter at a lower current draw too. If I want them dimmer I can always increase the value of the resistor.
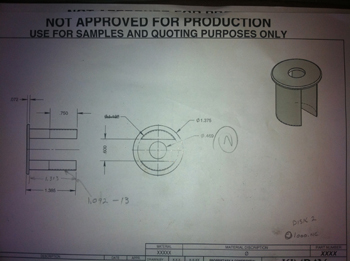
Meanwhile, Steve is machining the holders for these buttons. Here is the drawing in the shop of the part:
and here it is on the lathe being machined:
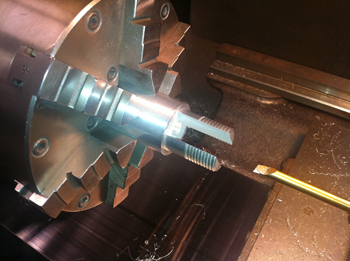
Steve machined the threads onto both ends of a piece of aluminum stock, then put it in the EDM machine and cut out the large slot for the switch housing to go into, then back into the lathe to bore the hole for the switch to stick through and then part it off. After it is cleaned up and polished it will go to the platers to be hard anodized black.
Also, tomorrow I go to Reid Cabinetry to cut the cabinet parts out!!!
Woot!
Leave a Reply
You must be logged in to post a comment.