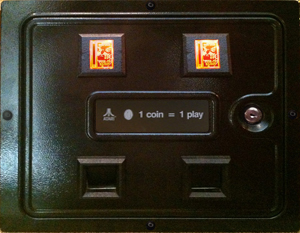
I managed to get a coin door from an original Atari Tempest cab. Actually, I now have several of the same model of coin door, but one of them I know for a fact came out of a Tempest machine. I took that door, cleaned it up and had it powder coated to look original. Then I cleaned up the backplate and coin mech parts and put it all back together. One of the other doors I found had orange coin return buttons, so I cleaned those up and installed my own graphics. Apply 12V and:

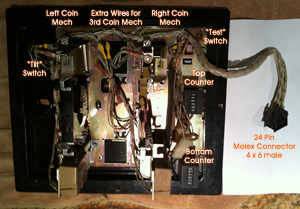
I’m very happy with it! I do not want to alter the wiring or hardware (love that I will be able to say it is an original Tempest coin door) so I needed to figure out the pinouts on the 24 pin Molex (4×6) connector. Using a multimeter I was able to pretty quickly determine:
- Center Coin Switch
- Right Coin Switch
- Left Coin Switch
- Reset ON & Momentary Switch
- “Tilt” Switch
- Switch Common (All Coin, Reset, Tilt)
- Solenoid Common
- Center Solenoid
- Right Solenoid
- Left Solenoid
- Extra Counter A1
- Extra Counter A2
- Top Counter 1 (apply 6VDC either way to increment)
- Top Counter 2
- Bottom Counter 1 (apply 6VDC either way to increment)
- Bottom Couter 2
- Extra Counter B1
- Extra Counter B2
- Coin Return Lights Power (12VDC)
- Coin Return Lights GND
- Not Used
- Not Used
- Chassis GND
- Chassis GND

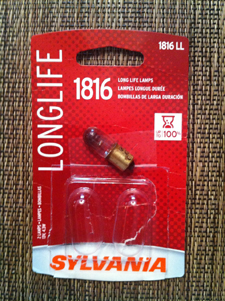
Currently I am using 12VDC incandescent bulbs that I bought at the auto parts store.

I have ordered LED bulbs that are packaged in a T3.25 Bayonet base. Both are orange, one is a dome covered package and the other is open. I will try them both and post the results of the comparison.
I will be using the “Test” switch as my free-play switch.